Wolverine #49 annotations
As always, this post contains spoilers, and page numbers go by the digital edition.
 WOLVERINE vol 7 #49
“Berserker”
Writers: Victor LaValle & Benjamin Percy
Artist: Geoff Shaw
Colour artist: Alex Sinclair
Letterer: Cory Petit
Editor: Mark Basso
COVER / PAGE 1. Wolverine leaping into battle in his adamantium armour.
PAGE 2. Flashback: Sabretooth is caught by Cypher’s seed.
This is a recap of issue #47. We saw Sabretooth emerging from the seed cocoon on page 23 of issue #48, so this issue is going back to fill in what happened in the meantime.
PAGE 3. Recap and credits.
PAGES 4-5. Sabretooth meets therapist Cypher.
This is a callback to scenes from the first Sabretooth miniseries, where Cypher similarly inserted himself into Sabretooth’s experiences in the Pit, in an attempt to reason with him. (This Cypher is also accompanied by a Warlock, taking the form of his pad.) This isn’t the real Cypher, but a persona programmed into the seed by Cypher before he gave it to Nekra in Sabretooth #5. He does, however, claim that the Cypher we saw in Sabretooth was the real one.
X-Men: Forever #3 annotations
As always, this post contains spoilers, and page numbers go by the digital edition.
 X-MEN: FOREVER #3
“Unhappy in Their Own Way”
Writer: Kieron Gillen
Artist: Luca Marseca
Colour artist: Federico Blee
Letterer: Clayton Cowles
Design: Tom Muller, Jay Bowen & Kat Gregorowicz
Editor: Jordan D White
COVER / PAGE 1. Destiny and Mystique fight, while Nightcrawler tries to intervene.
PAGES 2-3. Krakoa releases Cypher.
Cypher was spirited away by Krakoa in Immortal X-Men #13 and hasn’t been seen since. The only reason Krakoa gives in that issue is “I must protect him.” (Hope is able to understand that by copying Cypher’s powers, but then she loses contact with him, so she can’t ask Krakoa to elaborate.) Obviously, Krakoa anticipated the fall of Krakoa; they explain here that they could “sense the changing of the seasons”, though whether that’s a vague precognitive power or something else isn’t clear. It’s also a pun on “fall”, of course. Cypher has apparently slept peacefully through the whole “Fall of X” phase. It’s ambiguous whether he’s been within Krakoa itself or concealed somewhere on the island where Professor X couldn’t locae him.
“They tell me about the gala…” X-Men: Hellfire Gala 2023.
X-Men #34 annotations
As always, this post contains spoilers, and page numbers go by the digital edition.
 X-MEN vol 6 #34
“Love-Hate”
Writer: Gerry Duggan
Artist: Joshua Cassara
Colour artist: Romulo Fajardo Jr
Letterer: Clayton Cowles
Design: Tom Muller & Jay Bowen
Editor: Jordan D White
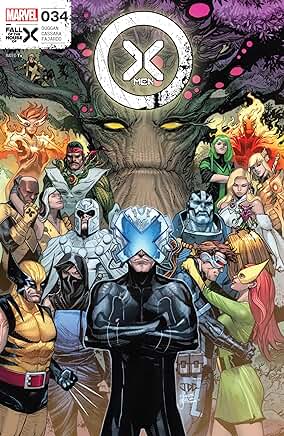
COVER / PAGE 1. Assorted cast members in front of Krakoa. On the left, Cypher is in the branches, and below him we have Firestar, Forge, Synch, Talon, Magneto, Wolverine and Shadowkat. On the right are Sunfire, Polaris, Magik, Emma Frost, Apocalypse, and a reunited Scott and Jean.
PAGE 2. Paul Neary obituary.
PAGE 3. A montage of Professor X.
Panel 1 shows him with the original X-Men in the very early Silver Age. At least, Iceman’s appearance suggests the very early Silver Age; Scott and Jean are holding hands, but they didn’t become a couple until long after the X-Men dumped the black and yellow uniforms.
Wolverine #48 annotations
As always, this post contains spoilers, and page numbers go by the digital edition.
 WOLVERINE vol 7 #48
“Sabretooth War, part 8: Alone Together”
Writers: Benjamin Percy & Victor LaValle
Penciller: Cory Smith
Inker: Oren Junior
Colourist: Alex Sinclair
Letterer: Cory Petit
Editor: Mark Basso
COVER / PAGE 1. A symbolic image of Wolverine being torn apart by two sets of hands – which the caption indicates are “two Creeds”. I haven’t got a clue what this has to do with the issue, or which two Creeds they had in mind. (Victor and Graydon would be the obvious ones in terms of their role in the story, but Graydon doesn’t have anything to do with Wolverine in this issue.) My best guess would be that this is a hangover from an abandoned early version of the story, although the solicitation copy for this issue does match the content well enough.
PAGES 2-6. Wolverine and Sabretooth separately reflect on their lives.
Obviously, these two monologues in first person narration are presented to emphasise the parallels between the two characters. The key theme for Wolverine is that while Sabretooth’s attack on the Greenhouse drove him into a rage, Kid Omega’s psychic attack on him last issue shifted his perspective and made him focus more on the positive reasons to fight – his loner tendencies are about the fear of getting other people hurt, but he does ultimately feel happier around others.
X-Men: Forever #2 annotations
As always, this post contains spoilers, and page numbers go by the digital edition.
 X-MEN: FOREVER #2
“Quiet Council”
Writer: Kieron Gillen
Artist: Luca Maresca
Colour artist: Federico Blee
Letterer: Clayton Cowles
Design: Tom Muller, Jay Bowen & Kat Gregorowicz
Editor: Jordan D White
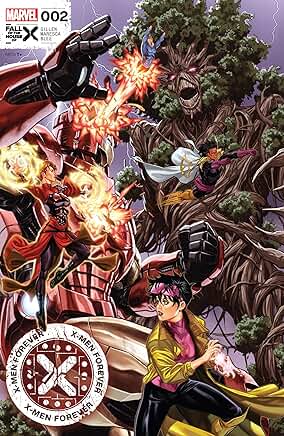
COVER / PAGE 1: Rachel, Cannonball, Jubilee, Exodus and Arakko fight a Stark Sentinel.
PAGE 2. Paul Neary obituary.
PAGES 3-5. Mother Righteous’ homunculus dissolves, and Professor X sends a message to the White Hot Room.
This scene takes place roughly alongside page 6 of Rise of the Powers of X #4. The two issues interweave, so you might want to look at the annotations for that issue.
“Sinister’s dead.” Fall of the House of X #3.
“Xavier murdered Rachel.” Rise of the Powers of X #3.
“Xavier freed me to @#$% over Rasputin, who’s also dead.” Rise of the Powers of X #4.
“Bring Rachel back. She’ll be furious, and rightly so.” Professor X makes clear that he killed Rachel in Rise #3, and Rasputin in Rise #4, so that they could be resurrected in the White Hot Room – the only way that they could readily travel there. That begs the question of why he didn’t just tell them that, but of course then Mother Righteous would have known what he was doing.
Rise of the Powers of X #4 annotations
As always, this post contains spoilers, and page numbers go by the digital edition.
 RISE OF THE POWERS OF X #4
“Sentinel X”
Writer: Kieron Gillen
Artist: R.B. Silva
Colour artist: David Curiel
Letterer: Clayton Cowles
Design: Tom Muller & Jay Bowen
Editor: Jordan D White
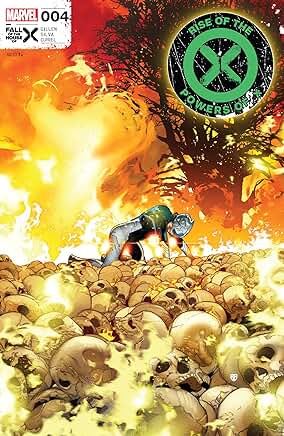
COVER / PAGE 1: A distraught Professor X, in his Cerebro helmet, in a field of flaming skulls. Presumably that’s Krakoa in the background.
PAGE 2. Paul Neary obituary.
PAGES 3-6. Professor X frees Mother Righteous and kills Rasputin.
This picks up directly from the end of issue #3, where Professor X was persuaded to switch tack and try Rachel’s plan of resurrecting the Phoenix as a means of defeating Enigma. As we establish later on, the reason why Professor X is killing Rachel and Rasputin is so that the Five can resurrect them in the White Hot Room – being the only available means of actually getting them there.
“You have the power to stop Rasputin, yes?” Mother Righteous’ magic gives her control over anyone who’s thanked her in the past, until she cashes that favour in. She used up most of her power in the White Hot Room by cashing in the general thanks that she was given by the whole population of Krakoa (in the closing issues of Immortal X-Men), but clearly she hasn’t cashed in her thanks for Rasputin yet. I’m not sure we ever saw Rasputin thank her on panel, but she regarded Mother Righteous as a saviour in Sins of Sinister: Dominion, so she’ll doubtless have thanked her somewhere along the line.
Dead X-Men #4 annotations
As always, this post contains spoilers, and page numbers go by the digital edition.
 DEAD X-MEN #4
“Hyperballad”
Writer: Steve Foxe
Artists; David Baldeón, Bernard Chang & Vincenzo Carratù
Colour artist: Frank Martin
Letterer: Cory Petit
Design: Tom Muller & Jay Bowen
Editor: Jordan D White
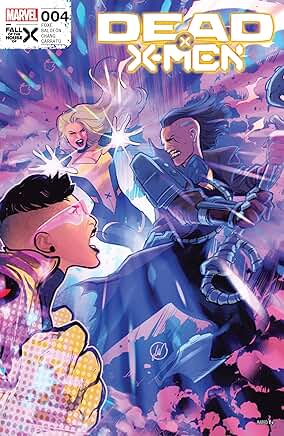
COVER / PAGE 1. The X-Men fight their alt-Moira.
PAGE 2. Paul Neary obituary.
PAGES 3-4. The X-Men and Moira are dragged back through time.
Issue #3 ended with the cyborg alt-Moira from issue #1 attacking the X-Men and their local counterparts in Moira’s fifth life. This turns out to be a bit of an anticlimax, as Dazzler calls on Rachel to haul them all back through time and bring Moira with them.
The montage on page 4 shows scenes from Moira’s earlier lives.
- Top left: Moira sees Professor X in a bar in her second life. This is page 8 panel 4 of House of X #2.
- To the right of that, a generic-looking campus scene. By elimination, this is probably meant to be her uneventful first life.
- On the second tier, on the left, Destiny threatens Moira before killing her in her third life.
- To the right of that, a Sentinel blasts Professor X and Moira in her fourth life. This is page 17 panel 4 of House of X #2.
- Below that, Moira and Logan in the Preserve in her sixth life.
- In the bottom tier, on the left, Moira and a wheelchair-bound Xavier in a futuristic city. This is Moira’s fifth life, where they built a mutant city.
- To the right of that, Moira with a sniper rifle, about to kill one of the Trask family. This is her seventh life.
- Next, Moira approaches Magneto. This is her eighth life, and specifically page 21 panel 2 of House of X #2.
- To the right of that, Moira with Apocalypse. This is her ninth life.
- And finally, above Frenzy’s head, a generic head shot of Moira, presumably representing her tenth and present life (from the perspective of this divergent Moira).
Fall of the House of X #4 annotations
As always, this post contains spoilers, and page numbers go by the digital edition.
 FALL OF THE HOUSE OF X #4
“The Turn”
Writer: Gerry Duggan
Artists: Jucas Werneck & Jethro Morales
Colour artist: Bryan Valenza
Letterer: Travis Lanham
Design: Tom Muller & Jay Bowen
Editor: Jordan D White
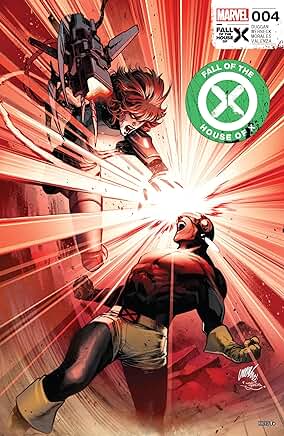
COVER / PAGE 1. Moira and Cyclops fight.
PAGE 2. Paul Neary obituary.
PAGE 3. Data page (!). The opening quote is Magneto’s line “Promise me you’ll watch Charles… Three began Krakoa. Moira betrayed us. I… deserted my post. Now Charles is alone with his dream.” This is from Magneto’s death scene in X-Men Red #7, which has since been positioned as foreshadowing for Professor X caving to Orchis’ demands in X-Men: Hellfire Gala 2023. That in turn ties to Professor X’s role in this issue, of which more later.
PAGES 4-6. Apocalypse leads his forces against Orchis.
Up in the sky are the two crossed space stations from the previous issue.
Apocalypse and his forces have arrived in time to save Krakoa from Orchis. Krakoa has been on the run from them ever since issue #1. As Apocalypse points out, Krakoa feeds off mutant energy, which wasn’t a problem when it had a whole mutant population and could take trivial amounts from each one. Without the mutants around, he’s been starving, so Apocalypse needs to offer up some life force.
Wolverine #47 annotations
As always, this post contains spoilers, and page numbers go by the digital edition.
 WOLVERINE vol 6 #47
“Sabretooth War, part 7: Bad Seed”
Writers: Victor LaValle & Benjamin Percy
Artist: Geoff Shaw
Colour artist: Alex Sinclair
Letterer: Cory Petit
Editor: Mark Basso
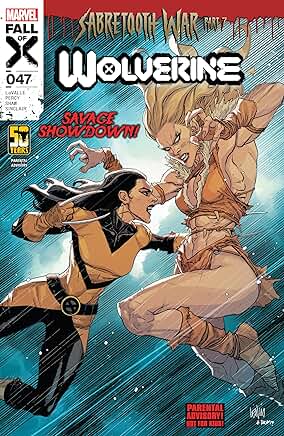
COVER / PAGE 1. Wolverine (Laura) fights the “Savage” alt-Sabretooth.
PAGE 2. Paul Neary obituary.
PAGES 3-5. Laura escapes her cage.
Laura cut this control collar off one of the beheaded Sabretooth drones last issue. Apparently, the collars trigger the security systems, so once the others are at a safe distance, she’s able to use it to escape. This doesn’t seem like a very good security system, but she is dealing with a whole crew of Sabretooths.
PAGE 6. Recap and credits.
PAGES 7-8. Wolverine and Sabretooth fight.
This picks up directly from the end of the previous issue, where Sabretooth had just zapped Wolverine with Forge’s de-powering gun. Note that even though this is Wolverine’s book (where he’s normally the narrator), Sabretooth is the narrator in this scene, and Wolverine only gets a single line of dialogue. In fact, Wolverine doesn’t get any more proper dialogue until the final page of the issue.
Resurrection of Magneto #4 annotations
As always, this post contains spoilers, and page numbers go by the digital edition.
 RESURRECTION OF MAGNETO #4
“Reawakening”
Writer: Al Ewing
Artist: Luciano Vecchio
Colour artists: David Curiel & Jesus Aburtov
Letterer: Joe Sabino
Design: Tom Muller & Jay Bowen
Editor: Jordan D White
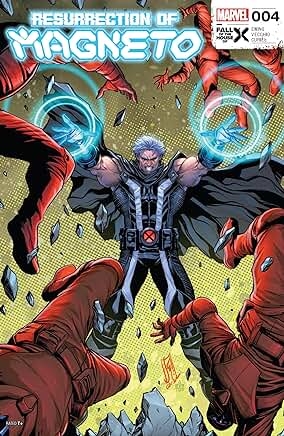
COVER / PAGE 1. Magneto attacks Orchis footsoldiers. He’s in his black costume, rather than the red one worn in the issue.
PAGE 2. Obituary for Paul Neary.
PAGE 3. Magneto advances towards Orchis soldiers.
As in previous issues, this opening splash page is a tarot reference – it’s loosely based on the Rider-Waite version of the Hierophant. That card doesn’t show the Hierophant with three helmets, but it does show him in a purple cape between two pillar type structures, raising his right hand in the same position as Magneto here, and with two worshippers in the position of the two Orchis footsoldiers. It also has two crossed keys lying on the floor, replaced here by two Orchis cards.
